

While planning a house, the first thing that requires is careful planning, the right team, a clear budget, and approval from the authorities. Starting from selecting a plot to completing it each step affects the cost, quality, and safety of your home. Either you are building a single-floor home or a multi-storey one, the first and the most importat thing is to understand the construction process. it will help you make the right decision and avoid common mistakes.
In this guide, you will understand how to plan and build an independence house in Noida, including plot checks, building approvals, design, construction stages, cost planning, and final house.
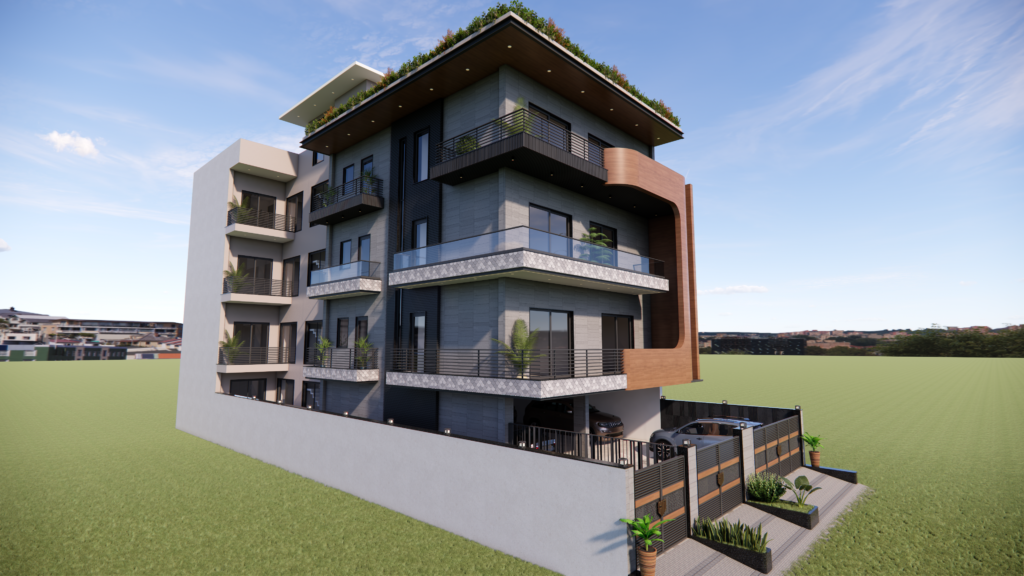
1. Checking the Plot Before Starting Construction
The first step in independence house construction in Noida is to check the plot and confirm that it meets your needs.
Before buying and developing a plot, review these points:
- Ownership Document- check the sale deed, title records, and ownership history.
- Land Use- confirm that the authority permits residential
- Plot dimensions: Verify the length, width, boundaries, and total area through a site survey.
- Road access: Check the road width, entry points, and access for construction vehicles.
- Utility connections: Review the availability of water, electricity, sewerage, and drainage.
- Building restrictions: Check the permitted ground coverage, setbacks, building height, and number of floors.
Noida has different land categories and planning rules. A residential plot in an authorised sector may follow different requirements from a plot in a village or an area under another local authority.
Consult a property lawyer and a qualified architect before you commit to the project.
2. Set Your Construction Budget

A clear budget helps you decide the size, design, and finish of your house.
The total cost of house construction in Noida depends on the plot size, built-up area, number of floors, material quality, labour rates, structural design, and interior specifications.
Include these expenses in your budget:
- Architectural and structural design fees
- Soil testing and site surveys
- Building approval and statutory charges
- Excavation and foundation work
- RCC structure and masonry
- Plumbing and electrical work
- Doors, windows, flooring, and painting
- Kitchen and bathroom fittings
- Waterproofing and drainage
- Boundary walls and gates
- Interior work and external development
- Utility connections and other applicable charges
Keep a contingency amount for design changes, price changes, and unexpected site conditions.
Ask contractors to provide a written estimate with material specifications, quantities, labour costs, exclusions, and payment milestones. Compare quotations on the same scope of work instead of choosing a contractor on price alone.
3. Hire an Architect and Structural Engineer

A qualified architect converts your requirements into a practical house plan. A structural engineer designs the foundation, columns, beams, slabs, and other structural elements.
Discuss your requirements before the design starts.
Consider:
- Number of bedrooms and bathrooms
- Number of floors
- Family size and future needs
- Parking space
- Kitchen and dining layout
- Natural light and ventilation
- Storage requirements
- Staircase location
- Terrace use
- Energy efficiency
- Accessibility
The architect should also review the applicable local building rules. The structural engineer should design the structure based on the site conditions, soil information, building loads, and relevant codes.
Early coordination between the design team and the contractor can reduce errors during construction.
4. Get the Required Building Approvals
Before starting construction, confirm which permissions apply to your plot.
Depending on the location, land category, and project, you may need approval from the Noida Authority, another local authority, or the relevant planning body.
The approval process may require:
- Proof of ownership or allotment
- Site plan
- Architectural drawings
- Structural drawings and calculations
- Applicable declarations and certificates
- Payment of prescribed fees
- Compliance with building bylaws
Additional requirements may apply based on the property type and proposed construction.
Do not assume that approval for one plot or sector applies to another. Ask the relevant authority or a qualified professional to confirm the current rules, permitted floors, setbacks, ground coverage, and height limits for your property.
Start construction only after obtaining the approvals required for your project.
5. Prepare the Architectural and Structural Drawings
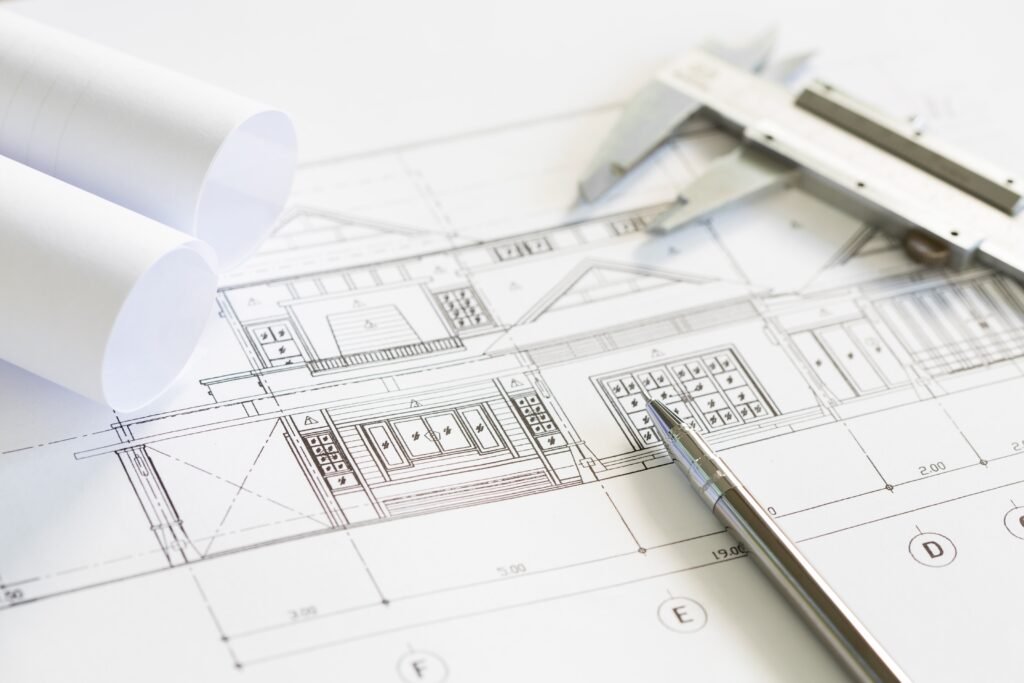
Once the design brief and site details are ready, the architect prepares the house plan.
The architectural drawings show the layout, room sizes, doors, windows, circulation, and elevation. Structural drawings show the elements needed to support the building.
The project team may also prepare:
- Electrical layouts
- Plumbing and drainage plans
- Waterproofing details
- Staircase drawings
- Door and window schedules
- Material specifications
- Construction details
Review these drawings before work begins. Changes made after construction starts can increase costs and cause delays.
Make sure the drawings reflect your approved design and meet the applicable regulations.
6. Conduct Soil Testing and Site Preparation
Soil testing helps the structural engineer understand the ground conditions and select a suitable foundation design.
The engineer may review the soil’s bearing capacity, groundwater conditions, and other factors that affect the foundation.
After the team confirms the site requirements, workers prepare the plot for construction.
Site preparation may include:
- Clearing vegetation and debris
- Establishing plot boundaries
- Setting out the building footprint
- Checking site levels
- Planning construction access
- Arranging temporary water and electricity
- Setting up worker safety measures
Do not select a foundation type based on a nearby house or a standard estimate. The engineer should base the design on the actual site and building requirements.
7. Start Excavation and Foundation Work
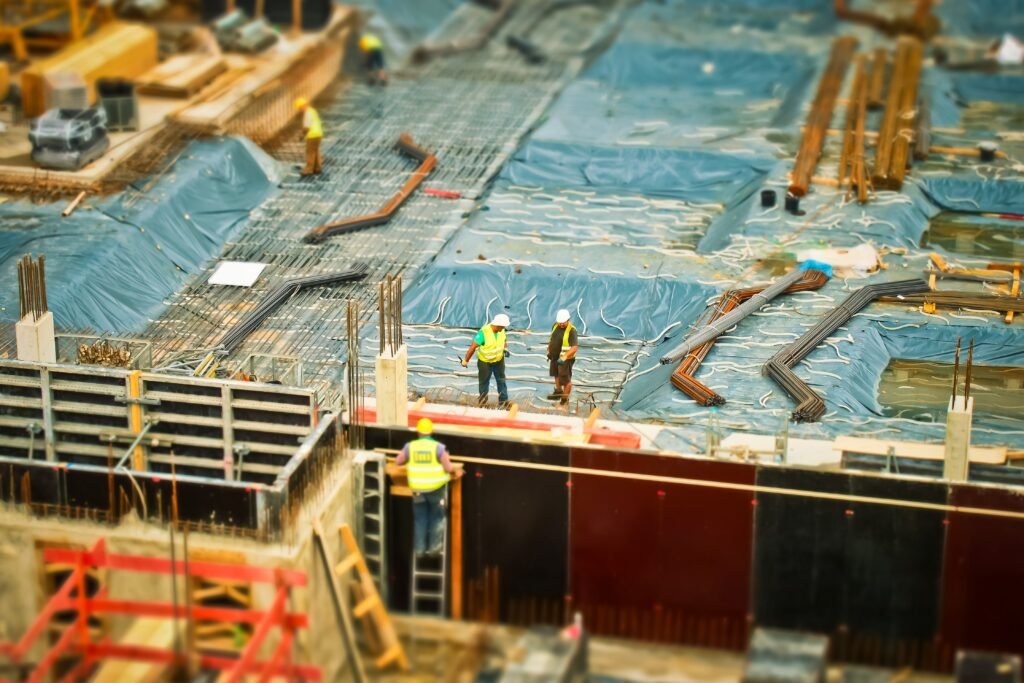
The foundation transfers the building’s loads to the ground. Its design depends on the soil, structural loads, groundwater conditions, and site constraints.
Foundation work may include excavation, levelling, reinforcement placement, formwork, concrete placement, and curing.
The team should check:
- Excavation depth and dimensions
- Foundation layout
- Reinforcement size and spacing
- Concrete grade
- Formwork stability
- Plumbing sleeves and service openings
- Waterproofing requirements
- Concrete curing
The structural engineer or authorised site supervisor should inspect the work at the required stages.
Proper foundation work supports the safety and service life of the house.
8. Build the RCC Structure
RCC stands for reinforced cement concrete. Many independent houses use RCC for foundations, columns, beams, and slabs, based on the structural design.
The main activities include:
- Fixing reinforcement bars
- Installing formwork
- Checking alignment and dimensions
- Placing concrete
- Compacting the concrete
- Curing the concrete
- Removing formwork at the permitted time
The team must follow the structural drawings and approved concrete specifications.
Avoid changes to columns, beams, slabs, or load-bearing elements without approval from the structural engineer. Such changes can affect the building’s safety.
For multi-storey house construction in Noida, coordination between structural work, stairs, service shafts, and plumbing routes is important.
9. Complete Brickwork and Wall Construction
After the relevant structural work, the team builds internal and external walls as per the drawings.
Wall construction defines the room layout and prepares the house for plumbing, electrical work, plastering, and finishing.
During this stage, check:
- Wall thickness and alignment
- Door and window openings
- Bathroom and kitchen layouts
- Service shafts
- Electrical conduit routes
- Plumbing openings
- Lintels and other specified elements
Coordinate wall construction with the service layouts to reduce cutting and rework.
The contractor should use the specified masonry materials and mortar mix. The team should also follow the approved details for connections between walls and the structure.
10. Install Electrical, Plumbing, and Drainage Systems

Electrical and plumbing work should follow the approved service drawings.
Electrical work may include wiring, conduits, switchboards, distribution boards, earthing, lighting points, and provisions for appliances.
Plumbing work may include water supply lines, drainage pipes, bathroom fittings, kitchen connections, and provisions for water storage.
Plan for future needs such as air conditioning, internet connections, CCTV, solar power, and electric vehicle charging where suitable.
Before covering concealed pipes and conduits, inspect their placement and test the relevant systems.
Proper planning can reduce leaks, electrical faults, wall damage, and costly repairs after handover.
11. Apply Plaster and Waterproofing
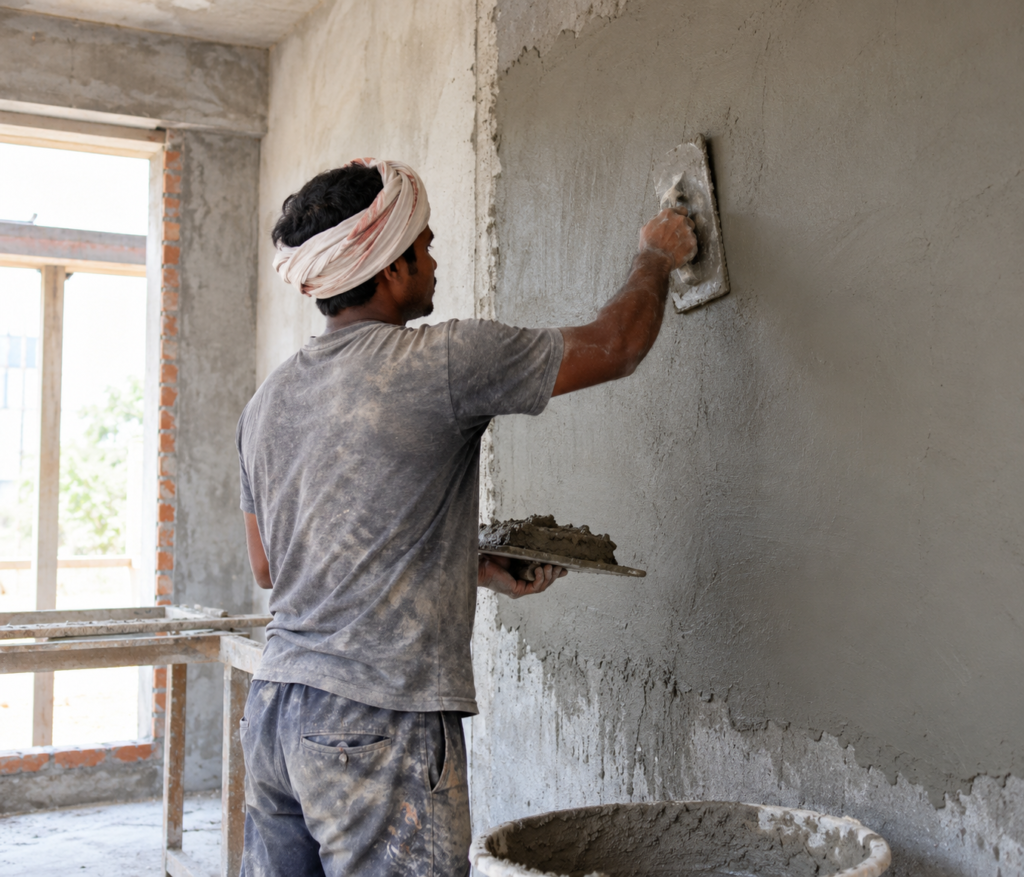
Plaster gives walls a surface for paint and other finishes. Waterproofing protects areas that face moisture.
Pay attention to:
- Bathrooms and toilets
- Balconies
- Terraces
- Roof slabs
- External walls
- Water tanks
- Basement areas, where applicable
- Wet areas around kitchens and utility spaces
The contractor should use suitable waterproofing systems and follow the manufacturer’s application instructions.
Complete the required tests before installing tiles or covering waterproofed surfaces. Keep records of test results and repairs.
Waterproofing problems can damage paint, ceilings, electrical systems, and interior finishes. Inspection at this stage helps prevent future maintenance costs.
12. Install Flooring, Doors, Windows, and Paint
Finishing work gives the house its final appearance and supports daily use.
The main activities include:
- Floor and wall tiles
- Stone flooring, where specified
- Door frames and shutters
- Window frames and glazing
- Railings
- Wall putty and paint
- Ceiling finishes
- Bathroom fixtures
- Kitchen counters and fittings
Choose materials based on your budget, design, maintenance needs, and expected use.
Check tile levels, joint alignment, door operation, window sealing, paint coverage, and surface finish before accepting the work.
Use a written material schedule to track the brands, models, colours, and specifications selected for the project.
13. Complete the Kitchen and Interior Work

Kitchen and interior work often involves several trades. Plan these activities before the finishing stage.
Your kitchen may include cabinets, a countertop, a sink, a chimney, lighting, and appliance connections.
Other interior work may include wardrobes, storage units, bathroom mirrors, false ceilings, lighting fixtures, and furniture.
Confirm the dimensions of appliances and furniture before fixing electrical points, plumbing connections, and cabinetry.
Keep enough access for maintenance. Service panels, valves, electrical boards, and plumbing connections should remain accessible after the interiors are complete.
14. Check the Quality of Construction
Quality checks should take place throughout the project, not just at the end.
The site team should inspect work against the approved drawings, specifications, and relevant standards.
Review these items at the right stages:
- Foundation dimensions and reinforcement
- RCC reinforcement and concrete work
- Masonry alignment
- Plumbing pressure and drainage tests
- Electrical safety and earthing
- Waterproofing tests
- Tile levels and joint quality
- Door and window operation
- Paint and surface finish
Record defects and agree on a date for each correction.
A written inspection process helps the homeowner, architect, engineer, and contractor track the quality of work.
15. Complete the Final Inspection and Handover
Before moving into your new house, inspect the full property with the contractor.
Check that doors, windows, taps, drains, switches, lights, and other fixtures work as intended. Look for cracks, leaks, damp patches, damaged tiles, and unfinished surfaces.
Collect these documents where applicable:
- Approved drawings
- Structural drawings and relevant certificates
- Required completion or occupancy documents
- Electrical and plumbing test records
- Waterproofing records
- Product warranties
- Material and fixture details
- Equipment manuals
- Final bills and payment records
- Contractor warranty and maintenance terms
Confirm with the relevant authority whether a completion certificate, occupancy certificate, or other closing approval applies to your property.
Resolve outstanding defects and record the handover date. Keep a copy of all project documents for future maintenance.
How Long Does Independent House Construction Take in Noida?
The construction timeline depends on the house size, number of floors, design complexity, approvals, weather, material supply, and workforce availability.
A typical project moves through these stages:
| Stage | Main work |
|---|---|
| Planning | Budget, site checks, design brief |
| Design and approvals | Drawings, engineering, required permissions |
| Foundation | Excavation and foundation construction |
| Structure | Columns, beams, slabs, and stairs |
| Walls and services | Masonry, electrical, plumbing, drainage |
| Finishing | Flooring, doors, windows, paint, fittings |
| Handover | Testing, defect correction, required documents |
These stages can overlap. The architect or contractor should prepare a project schedule based on the actual scope and approval requirements. Do not rely on a fixed timeline without reviewing the project details.
What Affects House Construction Cost in Noida?
The cost of independent house construction in Noida varies by project. The main factors include:
- Built-up area
- Number of floors
- Foundation and structural requirements
- Cement, steel, bricks, and concrete specifications
- Labour rates
- Flooring and bathroom fittings
- Doors, windows, and façade design
- Kitchen and interior work
- Electrical and plumbing systems
- Contractor charges
- Approval fees and applicable taxes
- Site access and ground conditions
Ask for a detailed cost estimate before work begins. Clarify whether the quotation covers materials, labour, equipment, transport, taxes, wastage, testing, and finishing.
A low initial quotation may exclude items that you will need to pay for later. Compare the full scope of work before choosing a contractor.
Common Mistakes to Avoid During House Construction
Homeowners can reduce delays and extra costs by avoiding these mistakes:
Starting work without checking approvals: Confirm the rules that apply to your plot before construction.
Changing the design during execution: Finalise room layouts, service points, and material choices before the relevant work begins.
Choosing a contractor on price alone: Review experience, references, scope, specifications, and payment terms.
Ignoring waterproofing: Plan and test wet areas before covering them with finishes.
Using materials without checking specifications: Match delivered materials to the approved schedule.
Skipping site inspections: Check each stage before the next activity covers the work.
Paying without a clear work record: Link payments to agreed milestones and documented progress.
Ignoring future maintenance: Keep access to service lines, valves, electrical boards, and equipment.
Why Choose a Planned Approach to House Construction?
A planned construction process connects design, engineering, budgeting, procurement, site supervision, and quality checks.
For homeowners, this approach offers a clear view of the project scope, work stages, material choices, and responsibilities. It also helps the project team identify issues before they affect later work.
At HN Infra, homeowners can use a structured planning approach to understand their construction needs, review project requirements, and make informed decisions at each stage. Discuss your plot details, desired built-up area, floor plan, finish level, and budget with the project team before finalising the scope.